
Create Bold Neon Ombré Nails: A Simple Guide for Beginners
Neon ombre nails are a fantastic way to express your creativity and add a vibrant pop of color to your nails. Whether you’re preparing for a special event or just want to try something new, this eye-catching design is sure to turn heads.
It’s also a perfect starting point for beginners who want to experiment with bold nail art without needing intricate skills.
If you’re new to nail art, this technique allows you to create a beautiful gradient effect with just a few simple tools.
And don’t worry — you don’t need to be a pro to achieve this look! Dorota Palicka Nails shares a step-by-step video tutorial that walks you through the process, making it easy for you to follow along and create your own stunning neon ombre nails.
What You’ll Need for the Neon Ombre Look

Before you start creating your ombre nails, gather these essential tools and products:
Neon nail polishes in the colors of your choice.
A makeup sponge or sponge tool to blend the colors.
Top coat to seal in your design and add shine.
A nail art cleanup brush for tidying up around the edges.
Having the right tools will ensure a smooth and flawless finish, making the whole process easier and more fun.
Step-by-Step Guide to Achieving Neon Ombre Nails

In the video tutorial by Dorota Palicka Nails, you’ll see exactly how to create the gradient effect. Below, we’ll provide an overview of the steps you can expect to follow along with the video:
Preparing Your Nails
Start with clean nails. File them into your preferred shape and gently push back the cuticles. Make sure your nails are free of any oils or residue, as this will help the colors adhere better.
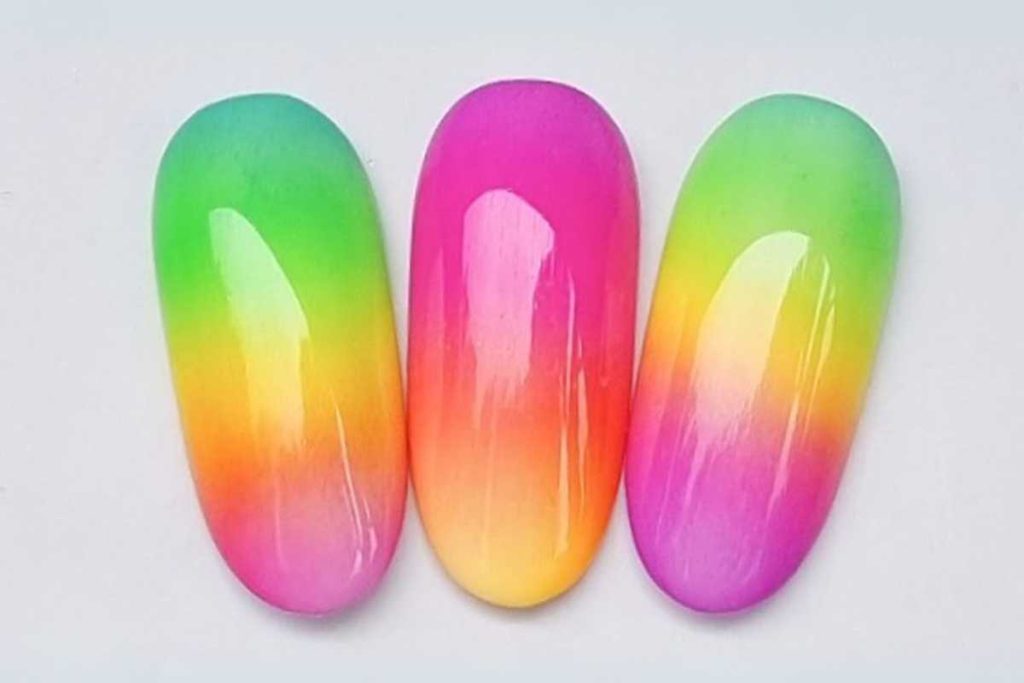
Creating the Ombre Effect
The key to ombre nails is blending the colors smoothly. In the tutorial, Dorota demonstrates how to apply the neon shades to a makeup sponge, then gently press the sponge onto your nails to create the gradient effect.
You'll see how she moves the sponge from the tips of the nails toward the base to achieve the perfect blend.
Finishing Touches
Once you’ve achieved the desired ombre effect, seal it with a top coat. This not only protects your design but also enhances the colors and adds a glossy shine. Dorota also shows how to clean up the edges with a nail art brush to keep the design neat.
Why This Technique Works for Beginners

What makes neon ombre nails so beginner-friendly is the simple focus on color blending. There’s no need for precision detailing — just apply the colors, blend, and finish. Even if you’ve never done nail art before, this technique is easy to follow and results in stunning, professional-looking nails.
The video tutorial makes it even easier by walking you through the process, step by step. The best part is that you can use any combination of neon shades to create a custom look that’s uniquely yours.
Conclusion: Show Off Your Neon Ombre Nails

Now that you’ve learned the basics of creating neon ombre nails, it’s time to try the technique for yourself! With Dorota Palicka Nails’ video tutorial as your guide, you can confidently achieve a beautiful ombre gradient that will impress everyone.
Whether you're a beginner or just looking to experiment with new styles, this technique is a fun and creative way to elevate your nail game.
Feeling inspired? Don’t forget to share your ombre creations and tag us for a chance to be featured! Stay tuned for more fun tutorials and tips on creating stunning nail designs.
We thank Dorota Palicka Nails for the images.
Enjoy The Video Tutorial

Source: Dorota Palicka Nails
Did you find this post useful or inspiring? Save THIS PIN to your Beauty Board on Pinterest! 😊


You may also like