
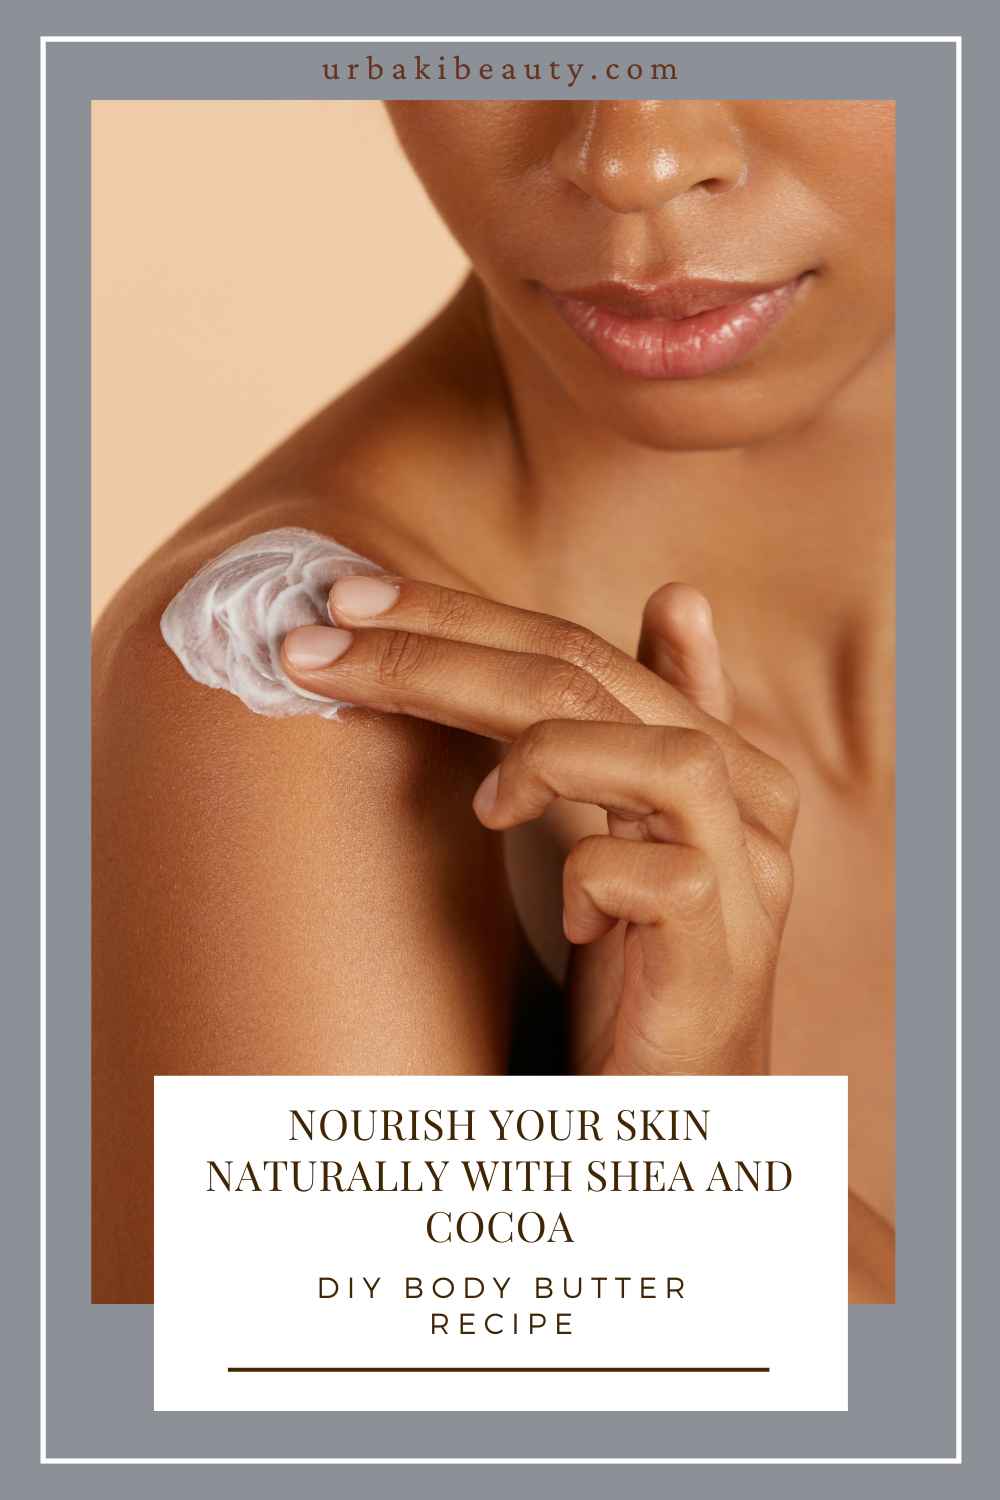
DIY Body Butter Recipe: Nourish Your Skin Naturally with Shea and Cocoa
When it comes to nourishing your skin, nothing beats the natural goodness of a DIY body butter made with ingredients like shea butter and cocoa butter.
These two ingredients are known for their exceptional moisturizing and healing properties, making them perfect for dry, rough skin.
Plus, creating your own body butter allows you to control what goes into it, ensuring that your skin is treated to only the best, natural ingredients.
In this article, we’ll walk you through how to make a simple, yet effective DIY body butter recipe that will leave your skin feeling soft, hydrated, and glowing.
Let’s dive into the benefits of each ingredient and how you can easily make your own body butter at home.
Why Choose Shea and Cocoa Butter?
The Benefits of Shea Butter
Shea butter is a rich, creamy fat extracted from the nuts of the shea tree. This natural moisturizer is packed with vitamins A, E, and F, making it an excellent choice for dry and irritated skin.
Shea butter is known for its anti-inflammatory and healing properties, which help to repair and soothe dry, damaged skin. It can also help reduce the appearance of scars, stretch marks, and even eczema.
One of the standout qualities of shea butter is its ability to lock in moisture, making it a powerful choice for those with dry skin. When applied, it penetrates deep into the skin, providing hydration without leaving a greasy residue.
Its rich consistency also makes it ideal for areas of your body that need extra attention, such as elbows, knees, and feet.
The Benefits of Cocoa Butter
Cocoa butter, derived from the cacao bean, is another fantastic ingredient for DIY body butter. It is known for its rich, creamy texture and its ability to hydrate the skin deeply.
Cocoa butter is particularly effective in soothing dry skin, as it helps to restore the skin’s natural elasticity and prevent moisture loss.
Much like shea butter, cocoa butter is full of antioxidants, which can help protect your skin from environmental stressors. It also contains fatty acids, which help to moisturize and soften the skin.
Cocoa butter is also commonly used to reduce the appearance of stretch marks and scars, making it a popular choice for pregnant women and those looking to improve skin texture.
DIY Body Butter Recipe: Step-by-Step Instructions
Ingredients You’ll Need:
1/2 cup shea butter
1/4 cup cocoa butter
1/4 cup coconut oil
1 tablespoon almond oil (or any other carrier oil like jojoba oil)
10–15 drops essential oil (lavender, peppermint, or citrus oils work great)
These ingredients come together to create a rich, luxurious body butter that’s both nourishing and hydrating. Let’s get started!
Step 1: Melt the Butters and Oils
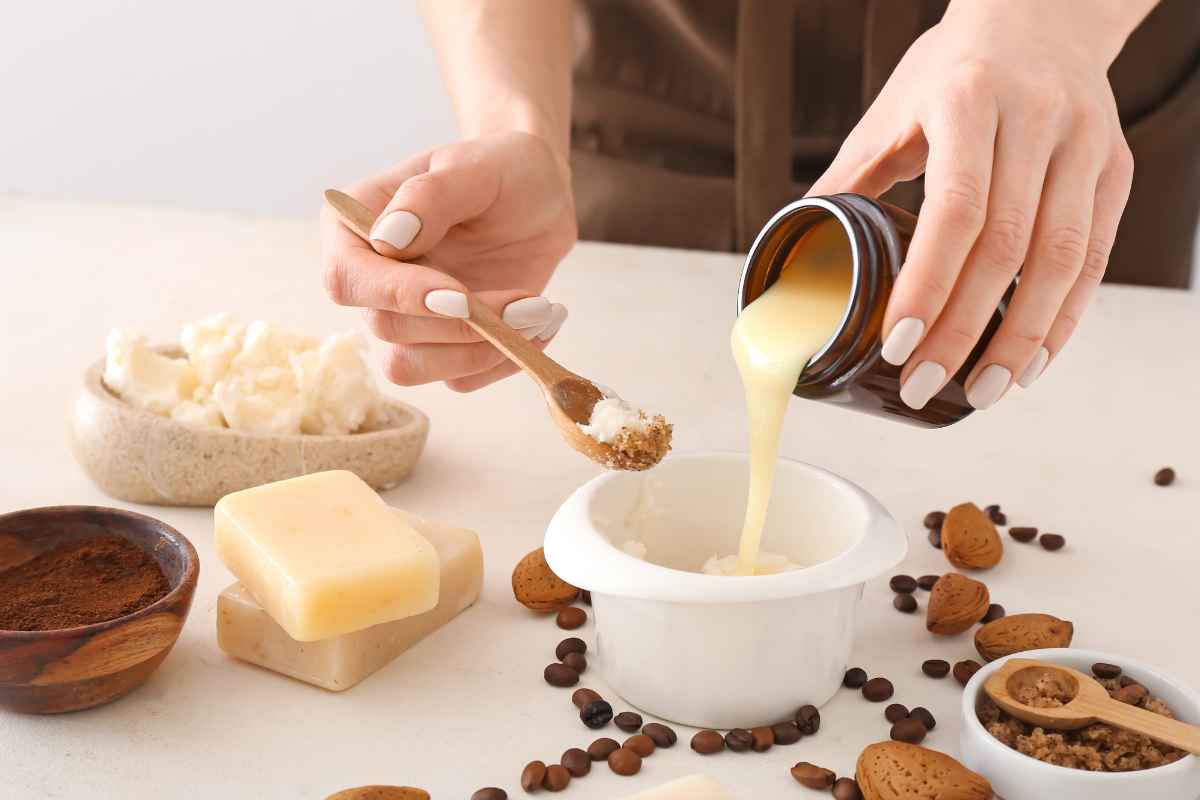
Start by melting the shea butter and cocoa butter together. Place both butters in a double boiler or a heatproof bowl over simmering water. Stir occasionally until the butters have completely melted into a smooth liquid.
Once melted, add the coconut oil to the mixture and stir until it's fully incorporated. Coconut oil is known for its antibacterial properties and is a great addition to any skincare recipe, especially for those with sensitive or acne-prone skin.
Step 2: Add the Essential Oils
After the oils and butters are fully melted and combined, remove the mixture from the heat. Allow it to cool slightly before adding your essential oils.
Essential oils not only add a wonderful fragrance to your body butter but also offer additional skin benefits.
For example, lavender essential oil is known for its calming and soothing properties, while peppermint oil can provide a refreshing, cooling sensation.
Citrus oils like orange or lemon can add a bright, uplifting fragrance while helping to brighten your skin.
Add about 10–15 drops of your chosen essential oil and stir to combine. Make sure the oils are evenly distributed throughout the mixture.

Step 3: Let the Mixture Cool and Solidify
Now it’s time to let the butter mixture cool. There are two ways to do this:
Room temperature cooling: Allow the mixture to cool at room temperature for about 1–2 hours. As it cools, it will begin to solidify and take on a creamy texture.
Refrigeration: For a faster solidifying process, place the mixture in the refrigerator for 20–30 minutes. Keep an eye on it so it doesn’t become too hard.
The texture should be firm but still soft enough to scoop out easily with your fingers.
Step 4: Whip the Body Butter
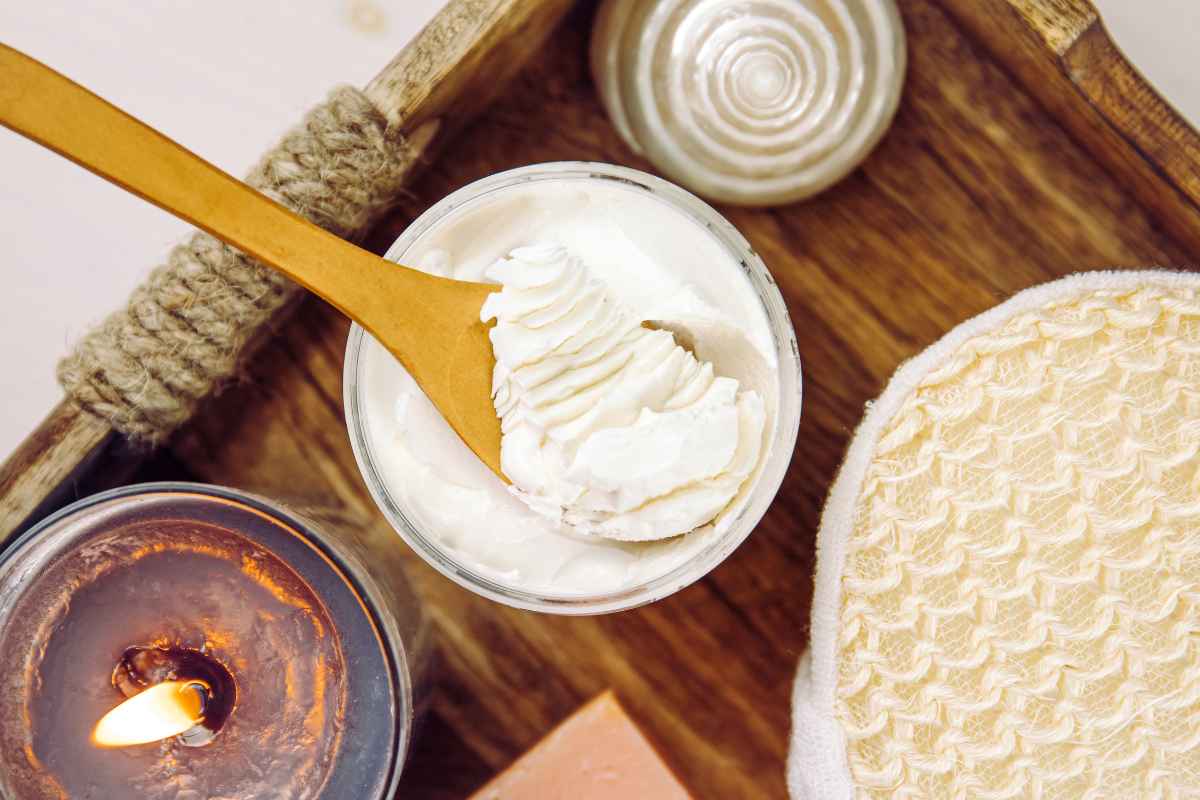
Once the mixture has cooled and solidified slightly, use a hand mixer or stand mixer to whip it into a fluffy, creamy consistency. Whip the body butter for about 5–7 minutes, until it becomes light and airy.
This step is essential for achieving the soft, smooth texture that makes body butter so luxurious.
If you find that the body butter is too hard after whipping, simply let it sit at room temperature for a while. It should be smooth and creamy, perfect for applying to your skin.
Step 5: Store and Use
Transfer your whipped body butter into a clean glass jar or an airtight container. Store it in a cool, dry place away from direct sunlight. The body butter should last for several months if stored properly.
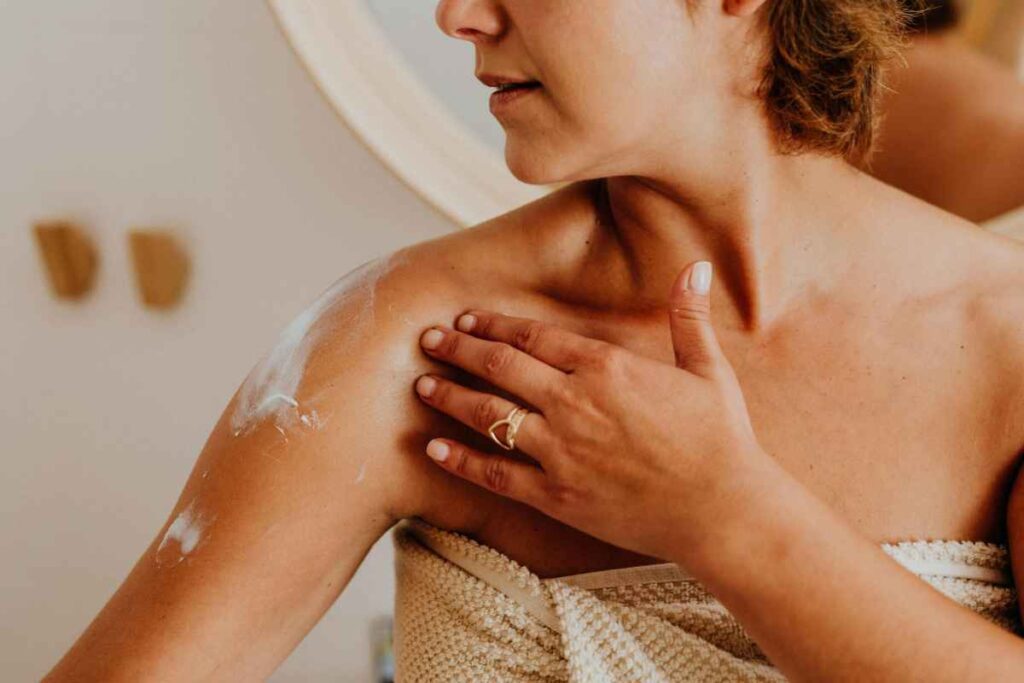
To use, simply scoop a small amount and massage it into your skin. Focus on areas that tend to be drier, like your elbows, knees, and feet. The body butter will melt into your skin, leaving it hydrated, soft, and nourished.
Why Make Your Own Body Butter?
No Harsh Chemicals
One of the biggest benefits of making your own body butter is knowing exactly what’s going into it. Many commercial body butters contain parabens, synthetic fragrances, and preservatives that can irritate the skin.
By making your own, you can ensure that your body butter is free from harmful chemicals.
Customizable to Your Needs
Another advantage is the ability to customize the recipe to suit your needs. You can experiment with different essential oils to create your signature scent or add extra nourishing oils like argan oil or rosehip oil for added skin benefits.
Budget-Friendly
Making your own body butter is also a great way to save money. While the initial investment in ingredients might seem high, you’ll have enough to make several batches, and each batch will cost much less than buying premium body butter from a store.

The Natural Power of Homemade
Creating your own DIY body butter is a fun and rewarding process that results in a luxurious skincare product that can nourish and hydrate your skin naturally.
With the combination of shea butter, cocoa butter, and essential oils, this body butter recipe offers deep moisture, repair, and a soothing fragrance.
By choosing to make your own body butter, you're not only giving your skin a boost of hydration but also ensuring that you're using natural, effective ingredients that your skin will love.
Give this recipe a try and indulge in the natural goodness that comes with pampering your skin the right way.
Did you find this post useful or inspiring? Save THIS PIN to your Beauty Board on Pinterest! 😊

You may also like