
How to Make a Body Butter with Shea, Cocoa, and Essential Oils
24/04/2025 · Updated on: 11/04/2025

In a world filled with over-processed skincare products, making your own body butter is a refreshing way to take control of what you put on your skin.
A rich, creamy blend of shea butter, cocoa butter, and essential oils delivers deep nourishment, a touch of aromatherapy, and zero synthetic fillers.
Whether you’re craving moisture, softness, or simply a self-care ritual that feels personal, a homemade body butter ticks all the boxes.
Let’s explore what makes this DIY skincare product so effective—and how you can create a version tailored to your skin’s needs and scent preferences.
Why Choose Shea and Cocoa Butter?
Deep Hydration, Naturally
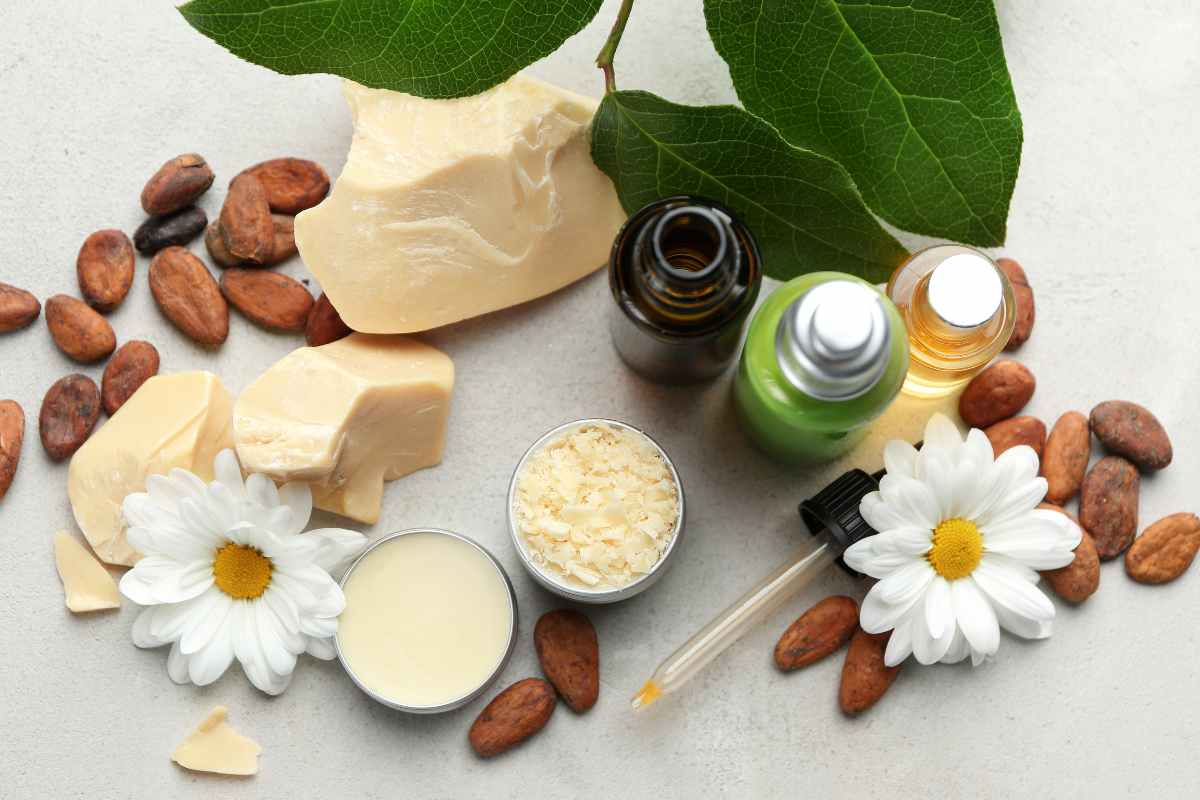
Shea butter is a staple in many natural skincare routines for a reason. It’s packed with vitamins A, E, and F, fatty acids, and anti-inflammatory properties.
It melts easily into the skin and helps restore moisture, improve elasticity, and soothe irritation.
Cocoa butter, on the other hand, is known for its rich texture and sweet, chocolatey scent. It helps lock in hydration, forms a protective barrier, and contains antioxidants that support skin repair.
Together, they create a body butter that’s both nourishing and indulgent.
Essential Oils: More Than Just a Pretty Scent
The addition of essential oils adds another layer of benefit. These aren’t just for fragrance—many carry therapeutic properties that can enhance the overall experience.
Some popular options:
Lavender: Calming and ideal for sensitive or irritated skin
Peppermint: Cooling, refreshing, and great for tired muscles
Sweet orange: Uplifting and energizing with a fresh, citrus scent
Tea tree: Antibacterial and ideal for acne-prone areas
Frankincense: Soothing and known for supporting skin regeneration
You can choose one or blend a few to create a scent profile that suits your mood or purpose.
Texture Matters: What Makes a Good Body Butter
A great body butter is rich but not greasy, thick but easy to spread, and melts into your skin on contact. Achieving the right texture comes down to a careful balance between hard and soft butters, carrier oils, and proper whipping or blending techniques.
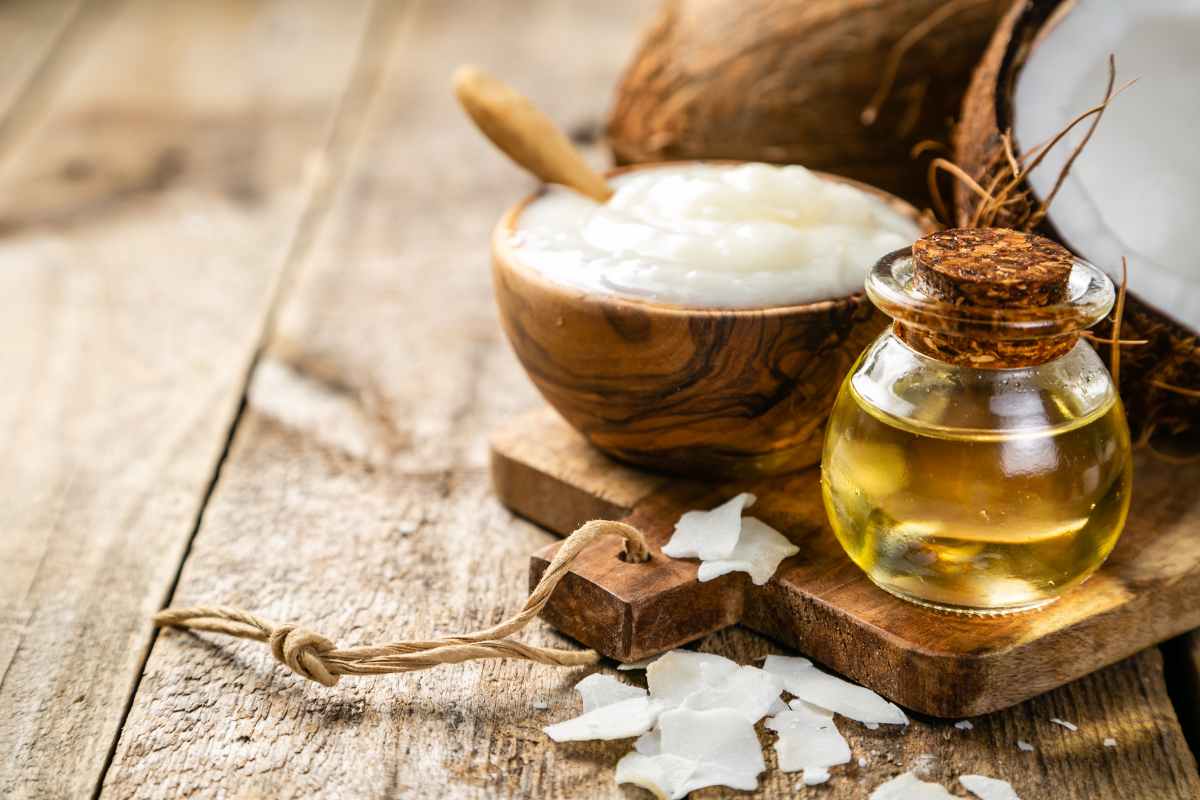
Adding carrier oils like jojoba, almond, or coconut oil can help customize the consistency and add more nutrients. These oils absorb into the skin more quickly than butters alone, preventing that overly oily feeling.
Shelf Life and Storage Tips
Since this is a natural product without preservatives, proper storage is important. Here’s how to make it last:
Keep it in a cool, dry place away from direct sunlight.
Use clean, dry fingers or a spatula when scooping product to avoid contamination.
Store in glass jars or tins for durability and to preserve the integrity of the essential oils.
When stored well, most body butters last up to 6 months. If you notice a change in smell or texture, it’s time to make a fresh batch.
Benefits of Making Your Own Body Butter
There’s more to this than just skincare. Here’s what sets DIY body butter apart:
1. Ingredient Control
You know exactly what’s in the formula—no parabens, phthalates, or synthetic fragrances.
2. Customization
Want a relaxing nighttime blend? Add lavender and chamomile. Need something invigorating post-shower? Go for citrus and peppermint. Your mix can be as personal as your mood.
3. Sustainability
Making it yourself means less packaging waste, especially if you reuse jars and buy ingredients in bulk.
4. Gifting Potential
Body butter makes a thoughtful, homemade gift—add a ribbon and a label, and you’ve got a luxurious present for birthdays, holidays, or self-care kits.
Common Mistakes to Avoid
While making body butter is beginner-friendly, there are a few things that can go wrong if you’re not mindful.
Overheating the butters
Melt them slowly on low heat or using a double boiler. High temperatures can damage the nutrients in your natural ingredients.
Skipping the whip
Whipping your butter helps incorporate air, giving it a lighter, fluffier texture. Without it, the butter may harden into a dense brick—not fun to apply.
Using too much essential oil
Essential oils are powerful. Stick to a safe dilution (1–2% max) to avoid skin sensitivity. That means about 6–12 drops of essential oil per ounce of butter.
Skin Types and Custom Tweaks
This base recipe works for most skin types, but you can fine-tune it depending on your needs:
Dry skin: Add more shea and a heavier carrier oil like avocado
Oily or acne-prone skin: Use lighter oils like grapeseed or jojoba and avoid coconut oil
Sensitive skin: Stick to calming oils like calendula or chamomile-infused carrier oils
Mature skin: Add rosehip oil or vitamin E for extra support with elasticity and tone
When and How to Use Body Butter
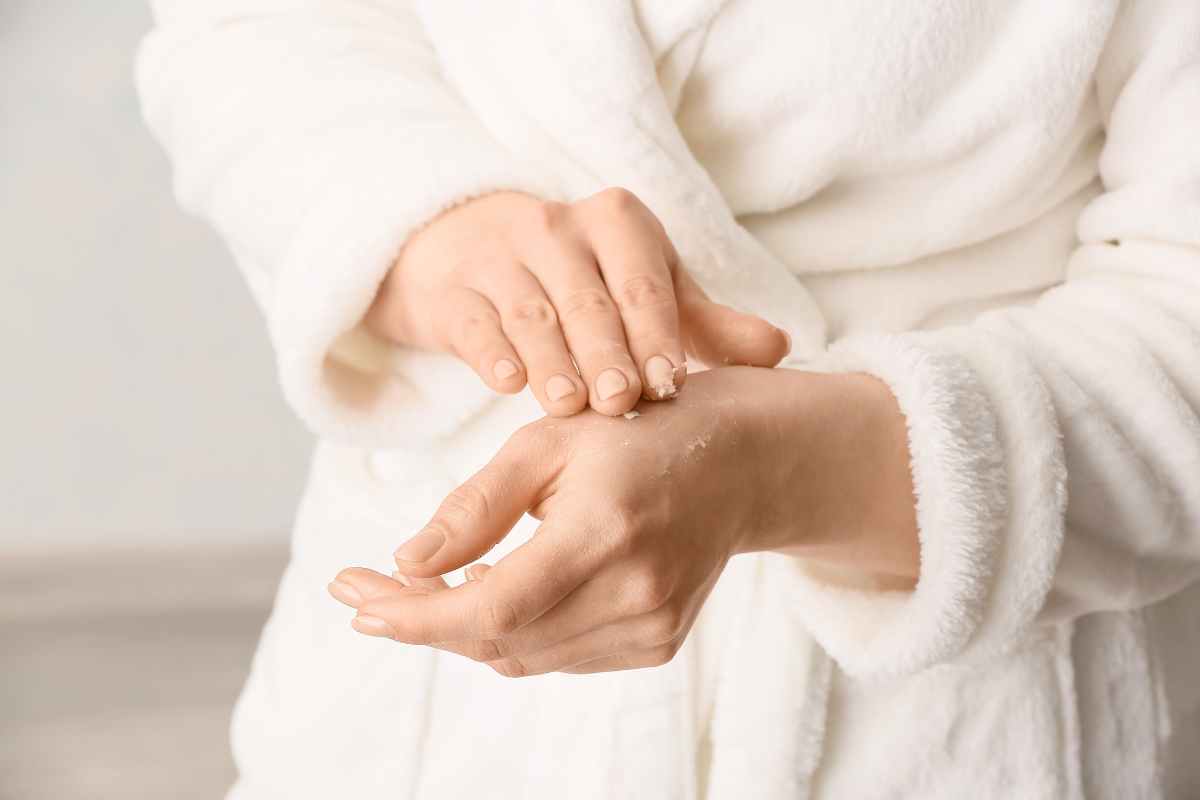
Use it when your skin is slightly damp—right after a shower is ideal. This helps lock in moisture and makes the butter glide on more easily.
Apply to:
Elbows, knees, and heels for deep hydration
Hands and cuticles as an overnight treatment
Full body for a daily glow, especially during colder months
Pro tip: A tiny amount goes a long way. Let it melt into your skin gradually instead of overapplying.
How It Compares to Lotions and Creams
Unlike water-based lotions, body butters are anhydrous—meaning they contain no water. That’s why they feel more concentrated and rich. They’re ideal for intense hydration, whereas lotions may absorb faster but moisturize less deeply.
Body butters also don’t need preservatives (as long as no water is introduced), making them a great clean-beauty alternative.
Final Thoughts: Why You’ll Want to Keep Making It
Once you experience the softness, scent, and glow that comes from your own handcrafted body butter, it’s hard to go back to store-bought jars.
You’ll appreciate how simple ingredients create powerful results, and how your skin responds when you treat it with care.
Creating body butter at home gives you a product that’s as nourishing as it is luxurious—and completely yours.
Whether you’re doing it to reduce waste, avoid synthetic ingredients, or just enjoy a relaxing DIY project, this is skincare with intention.
Your skin deserves that.
Did you find this post useful or inspiring? Save THIS PIN to your Beauty Board on Pinterest! 😊
You may also like