
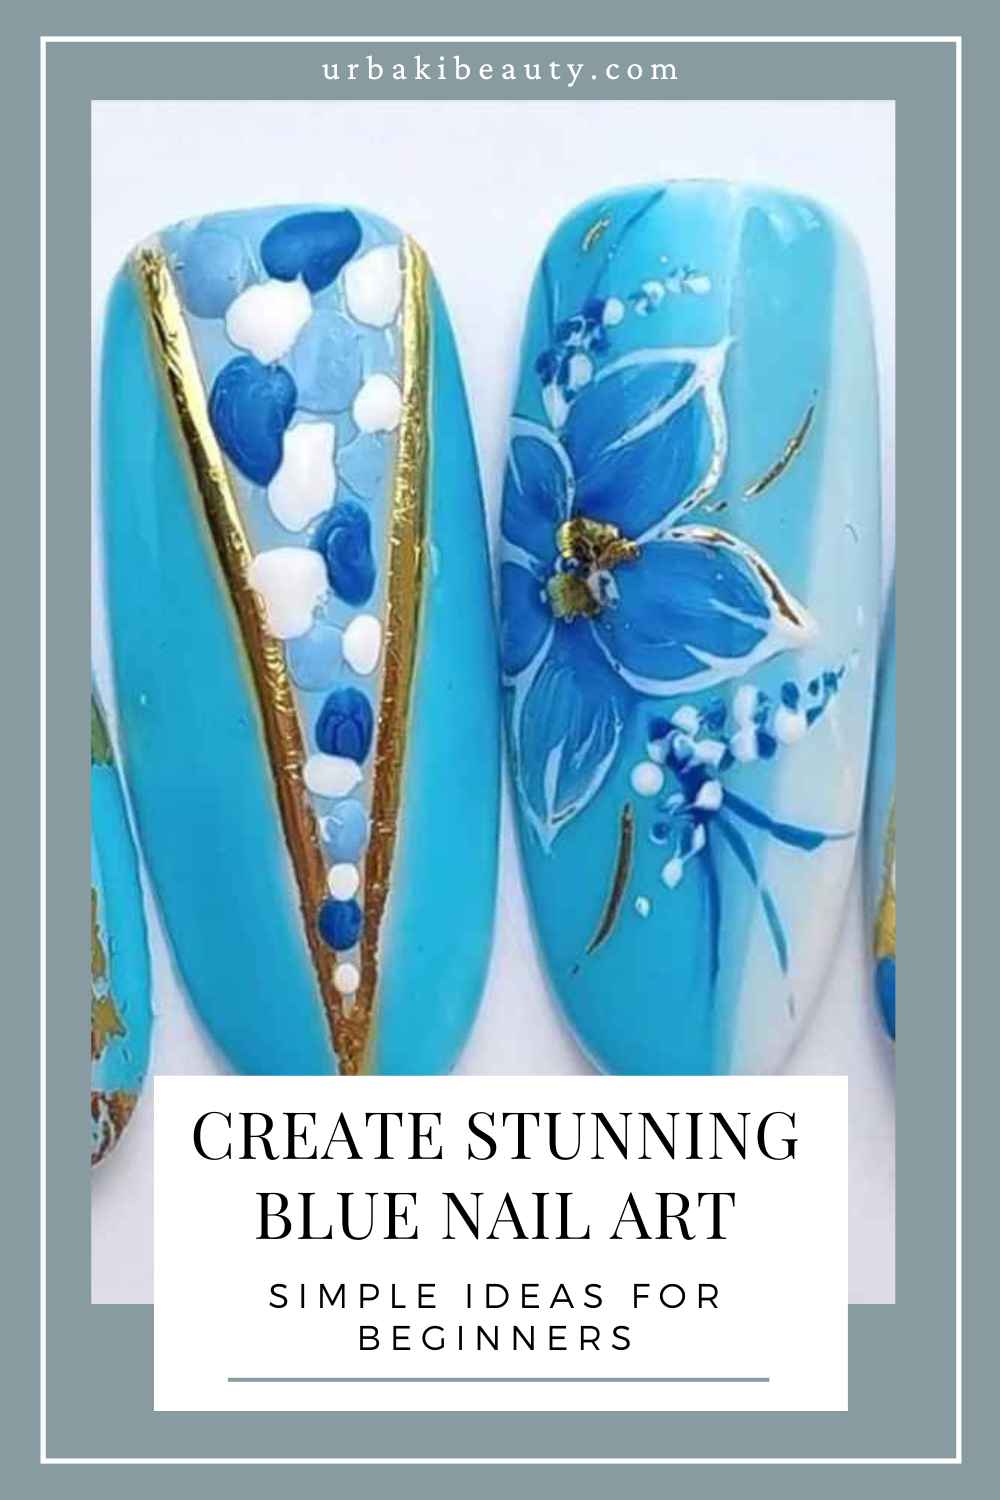
Create Stunning Blue Nail Art: Simple Ideas for Beginners
30/05/2025 · Updated on: 16/05/2025
If you're looking for a way to express your creativity without needing advanced skills, blue nail art for beginners is a perfect place to start.
With just a few tools and the right guidance, you can create beautiful designs that look polished and professional.
In this beginner-friendly video tutorial, nail artist Dorota Palicka Nails walks us through several easy techniques that are ideal for newcomers but still produce impressive results.
Whether you’re getting ready for a weekend outing or just want to experiment with color, this is a relaxing and rewarding way to spend your time.
Let’s explore how this tutorial can help you elevate your nail game with effortless, elegant results.
Why Blue is the Best Color to Begin With
There’s something universally appealing about the color blue. It’s calming, timeless, and versatile. From soft baby blue to deep ocean navy, this color complements a wide range of styles and skin tones.
Blue nail designs can be fresh and youthful or bold and sophisticated—depending entirely on the shades and details you choose.
What makes this hue especially great for beginners is that it’s forgiving when layering and mixing, and pairs beautifully with white, silver, and even contrasting warm tones.
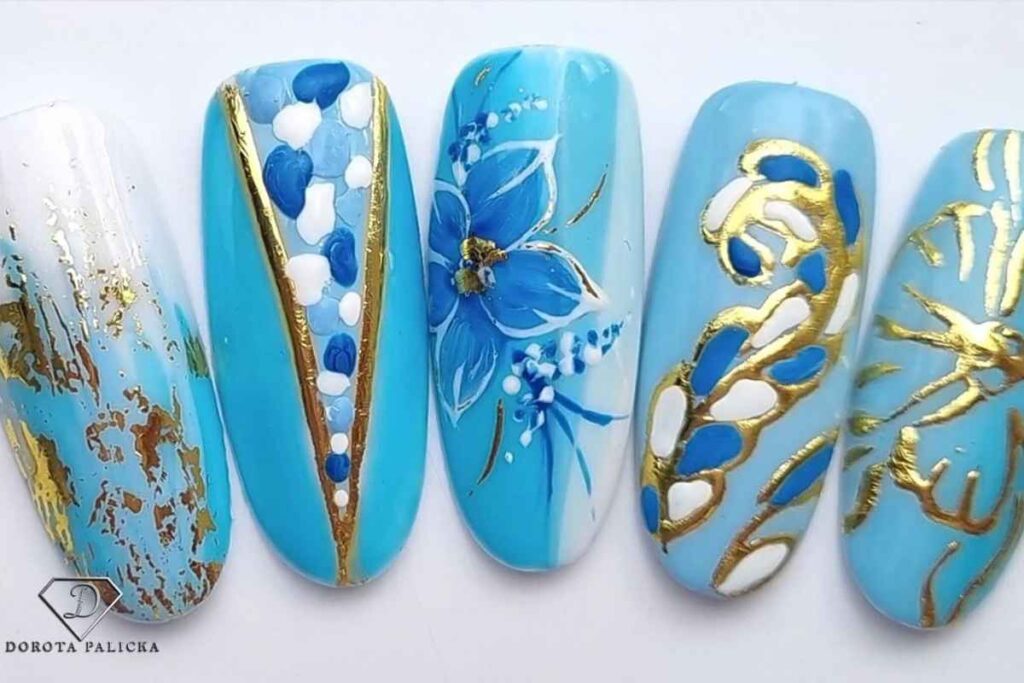
In the tutorial, Dorota demonstrates how a selection of blue tones can bring variety to even the simplest techniques.
What You’ll Learn in This Tutorial
This isn’t your typical, overly complex design breakdown. The tutorial focuses on quick and easy nail art methods using just a few shades of polish and some simple tools.
There are no intimidating techniques or expensive materials involved. Instead, you’ll get a hands-on look at five beginner-friendly nail art designs using blue polish, all of which you can complete from the comfort of your home.
Dorota Palicka makes it a point to guide viewers through step-by-step visuals, encouraging experimentation without the pressure of perfection.
Her clear explanations and encouraging tone are perfect for anyone who may be nervous about trying nail art for the first time.
Tools You'll Need to Get Started
Before you dive into this creative session, it’s good to gather the basic items. The designs shown in the tutorial require:
Base coat and top coat
Multiple shades of blue nail polish
White nail polish for accents
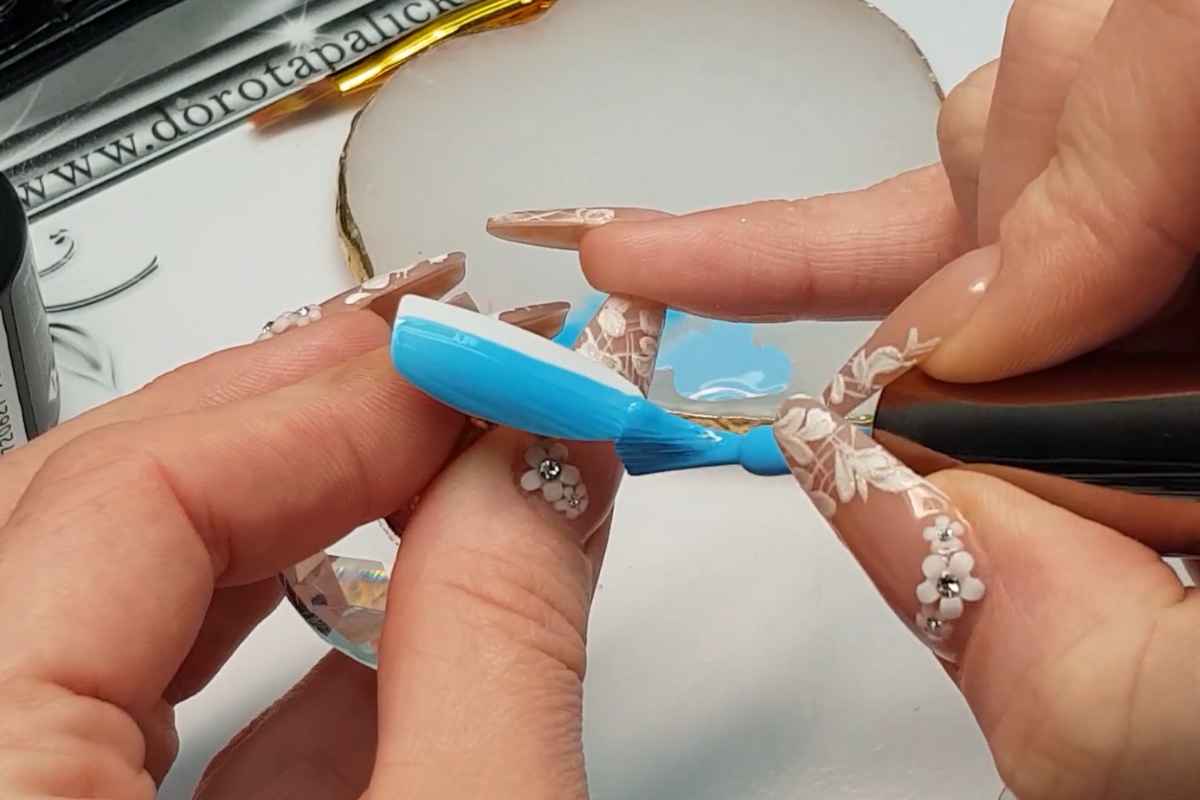
A fine detail brush or a nail art dotting tool
Optional: a makeup sponge for blending
These tools are common in most beginner nail kits and easy to find in stores or online. The point isn’t to buy everything professional artists use, but to work with what’s accessible.
Simple Techniques, Beautiful Results
Each of the five designs shared in the video builds on basic nail art skills such as dotting, striping, and blending. While Dorota doesn’t dive into intricate or time-consuming techniques, the results are eye-catching and refined.
Some highlights from the tutorial include:
Elegant Blue and White Dots
Using just two colors and a dotting tool, you can create a charming pattern that’s perfect for both casual and formal looks. This is ideal if you're just starting and want a minimalistic but elegant nail art style.
Sponged Gradient Effect
The sponged ombre effect using two shades of blue is surprisingly easy to recreate. Dorota shows how blending light and dark blues can create a seamless transition that looks far more advanced than it actually is.
Gradient nail designs are one of the trendiest ways to add depth to your manicure.
Delicate Line Work with a Twist
If you have a steady hand (or want to practice getting one), try one of the fine-lined patterns shown in the video. These blue line nail art patterns are great for everyday wear and give off a clean, geometric look that feels modern and fresh.
Why This Tutorial Works for Beginners
Not all tutorials are beginner-friendly, but this one is clearly created with first-time artists in mind. Dorota Palicka Nails understands that trying something new can be intimidating, so she breaks each design into manageable steps.
You don’t have to worry about complex layering, drying techniques, or precision-based methods.
Instead, the focus is on building confidence and experimenting with easy nail art ideas that feel achievable, even on your first try.
By the end of the video, you’ll be able to apply one or more of these designs to your own nails or a friend’s—no stress, just creativity.
Tips to Make Your Nail Art Last Longer
Even simple designs deserve to last, especially after you’ve put time and love into creating them. Here are a few tips inspired by the tutorial to help your DIY nail art stay vibrant:
Always start with a quality base coat to protect your nails.
Allow each layer to fully dry before applying the next.
Use a top coat generously to seal in the design and add shine.
Avoid water and heavy hand use for a few hours after completing your manicure.
Unlocking Creative Possibilities
The best part of learning blue nail art techniques like these is that they open the door to more creativity.
Once you master a few basics, you can start modifying the patterns—try adding rhinestones, switching up colors, or even combining two styles into one.
The tutorial encourages this kind of creativity. Dorota never pressures viewers to copy her exactly but instead provides a framework that you can adapt to your own taste.

Keep It Fun and Stress-Free
Learning a new craft should be fun—not stressful. Don’t worry about perfection. The more you practice, the more confident you’ll become.
This beginner blue nail art tutorial is a great introduction to nail design, and it’s a reminder that even the simplest touches can make a bold statement.
Enjoy The Video Tutorial

Source: Dorota Palicka Nails
Did you find this post useful or inspiring? Save THIS PIN to your Beauty Board on Pinterest! 😊
You may also like