
How to Create Stunning Cherry Blossom Nails with Ease
25/05/2025 · Updated on: 21/10/2026
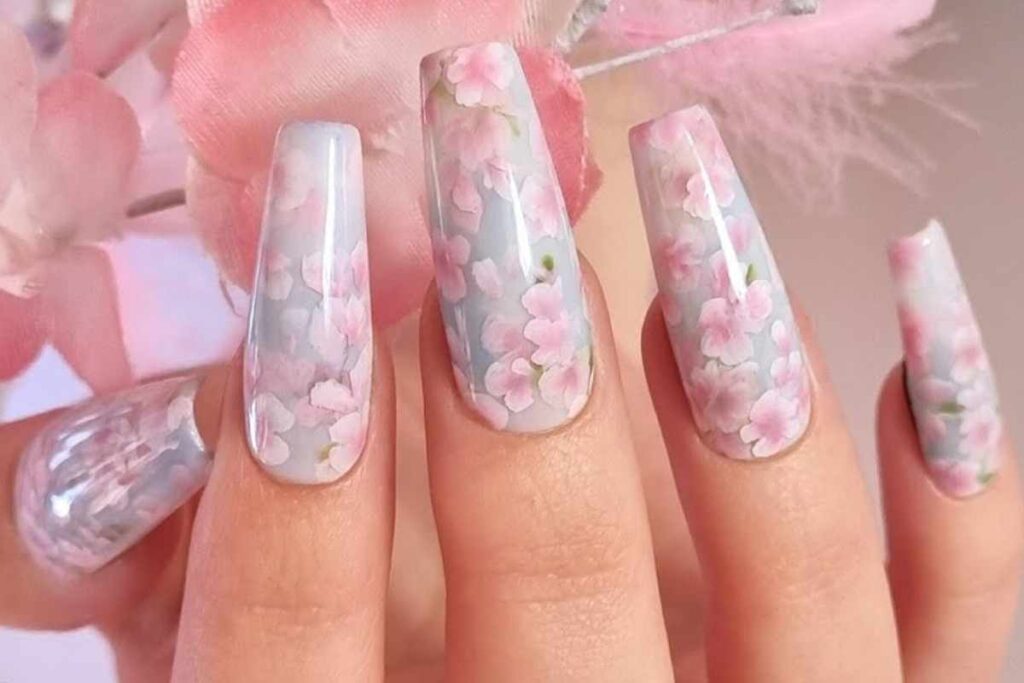
Cherry blossom nails bring a delicate, romantic look that's perfect for spring or anytime you want a soft, floral vibe. Inspired by the ethereal beauty of blooming sakura trees, this nail design blends subtle gradients, soft petals, and dreamy pastel shades for a look that's elegant yet wearable.
This design is all about detail without going over the top. It's feminine, seasonal, and surprisingly versatile. Whether you're headed to a wedding, a brunch, or just want to dress up your everyday look, cherry blossom nail art adds charm with a refined touch.
The Look: Soft, Detailed, and Feminine
What Makes It Stand Out
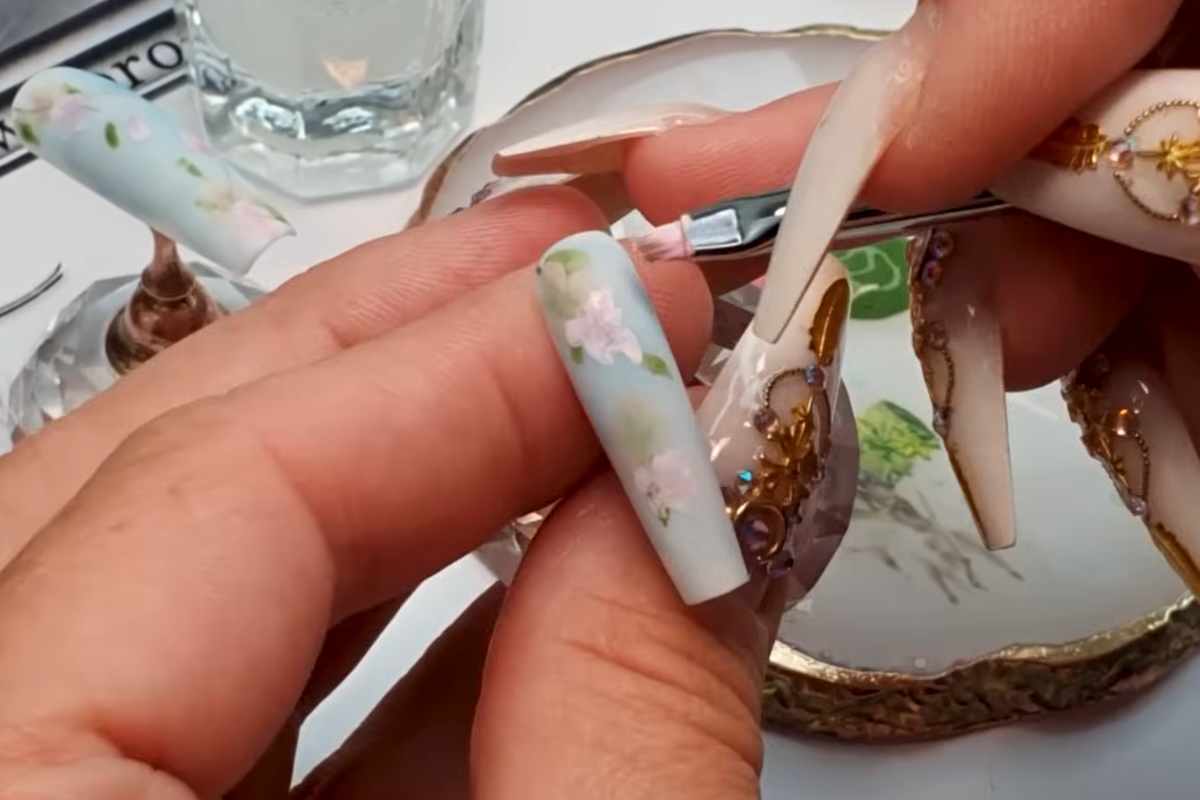
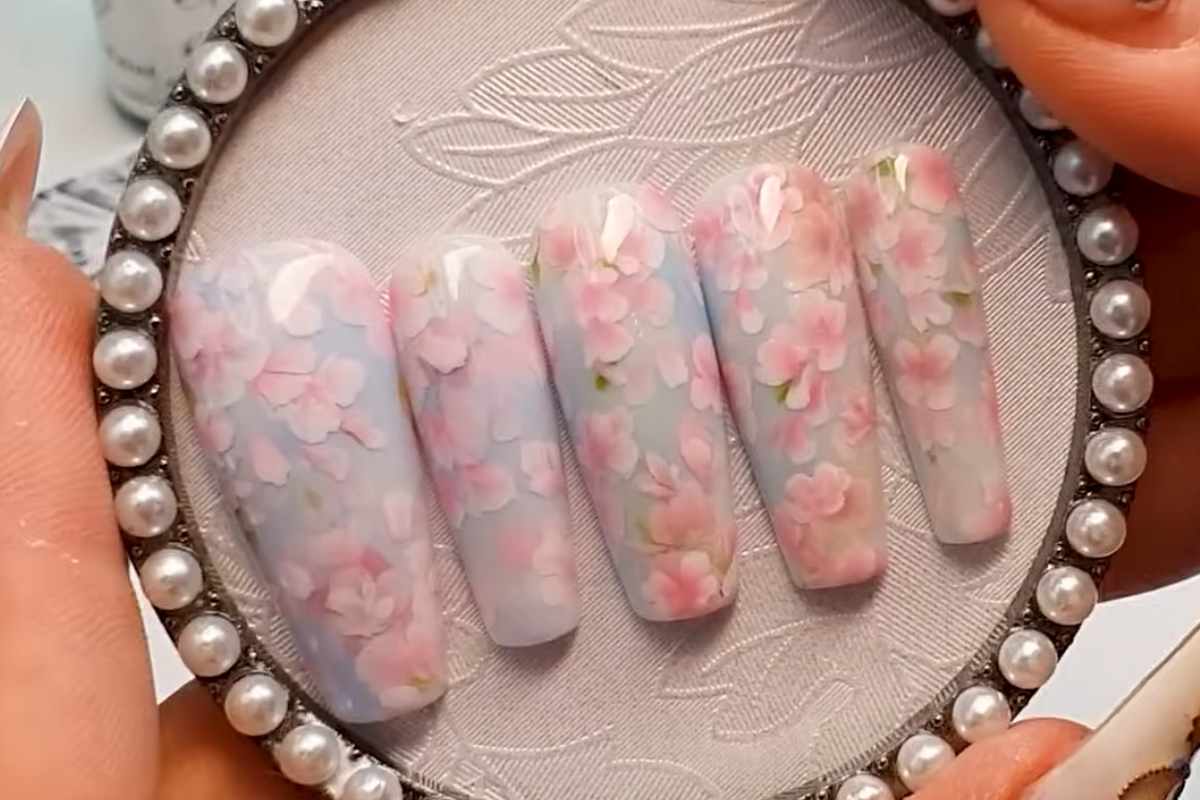
What sets this look apart is the balance between soft backgrounds and bold floral detail. The base is usually a translucent or muted pastel—think light pink, lavender, or sky blue. The blossoms are painted in gentle layers of pink and white with just a hint of green for leaves or branches.
A glossy top coat brings the design to life, giving it a glass-like finish that enhances depth and color. When done well, the flowers appear almost three-dimensional, like they’re floating on the nail.
Ideal Nail Shape and Length
This design shines on longer nails with a square or almond shape, which gives enough space to showcase the detail. But it can be adapted to shorter nails too, with fewer blossoms or a minimalist take using just one accent nail.
Tools and Materials That Help
Essentials for a Clean Result
- A soft-gradient base color
- Thin nail art brushes for precision
- A dotting tool for the blossom centers
- A high-gloss top coat to seal the design
Optional: If freehand painting feels intimidating, cherry blossom nail stickers or stamping plates offer an easier alternative that still looks beautiful.
Tips for a Professional Finish
Layering is Key
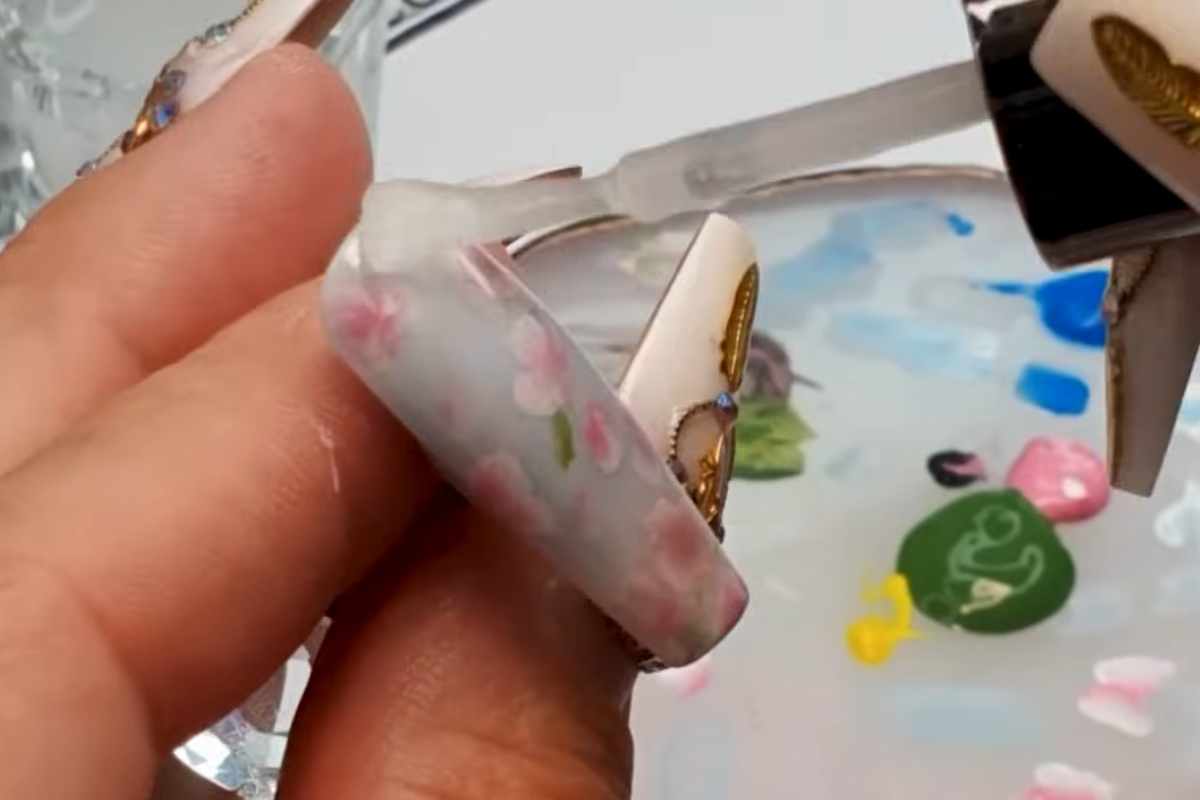
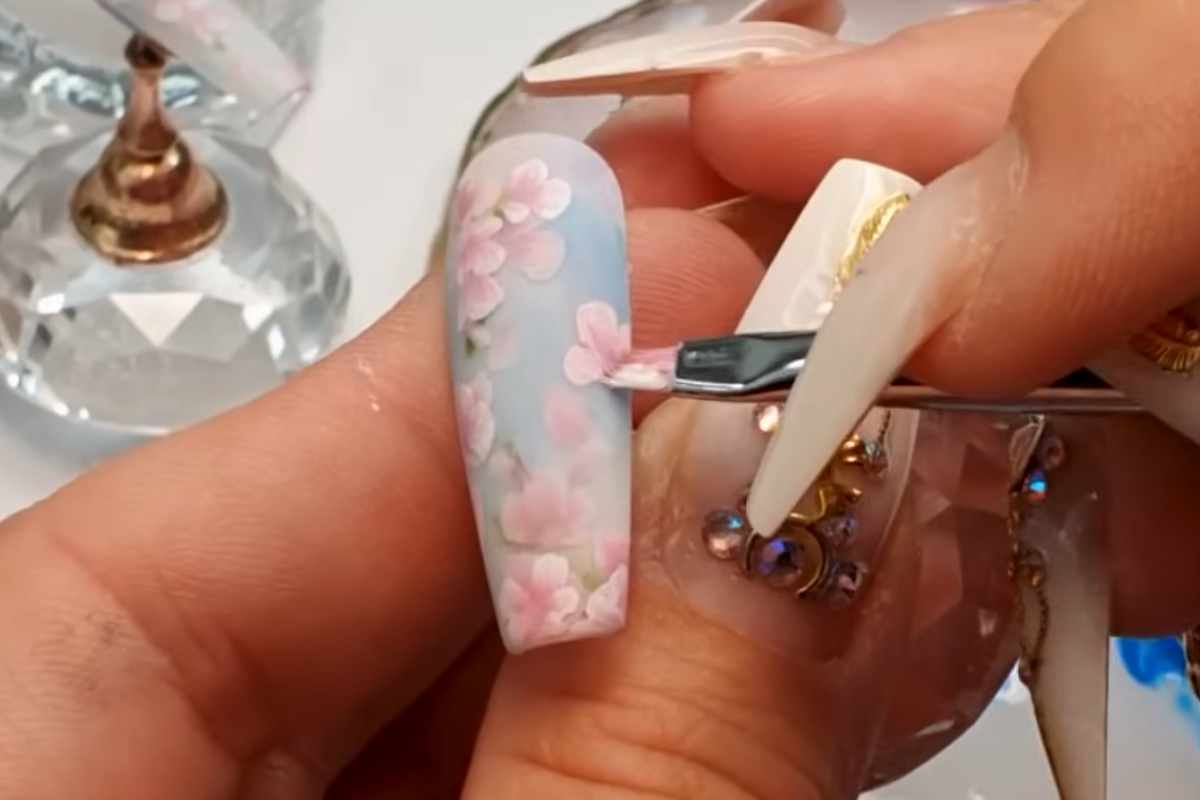
What gives cherry blossom nails their wow factor is depth through layering. Starting with a sheer base and building the petals gradually adds realism and movement.
Use a Light Touch
To keep the blossoms looking soft and airy, avoid using too much polish at once. Less is more with each petal. Slightly transparent layers will mimic the natural delicacy of real cherry blossoms.
Add a Touch of Shimmer (Optional)
For a subtle upgrade, consider incorporating a fine shimmer or iridescent powder beneath the blossoms. This catches the light without overpowering the floral detail.
Inspiration and Variations
Modern Twists on a Classic Design
You don’t have to stick to traditional colors. Some modern takes use gray, nude, or even black backgrounds for a striking contrast. Others add gold foil or crystals to give it a more luxurious feel.
Minimalist versions focus on a single blossom on a nude base, while bolder styles cover the entire nail in blooming patterns. The look can be customized to match different moods and outfits.
Final Thoughts
Cherry blossom nails are more than just a seasonal trend—they're a timeless expression of beauty and grace. With the right technique and a bit of patience, you can create a design that looks salon-level but feels personal.
This kind of nail art celebrates nature, creativity, and craftsmanship all in one. Whether done by hand or using tools to simplify the process, the result is always soft, elegant, and undeniably eye-catching.
We thank Dorota Palicka Nails for the images.
Enjoy The Video Tutorial
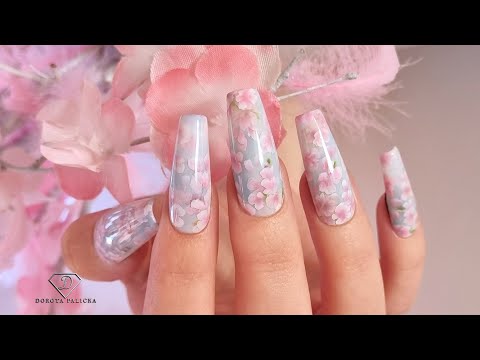
Source: Dorota Palicka Nails
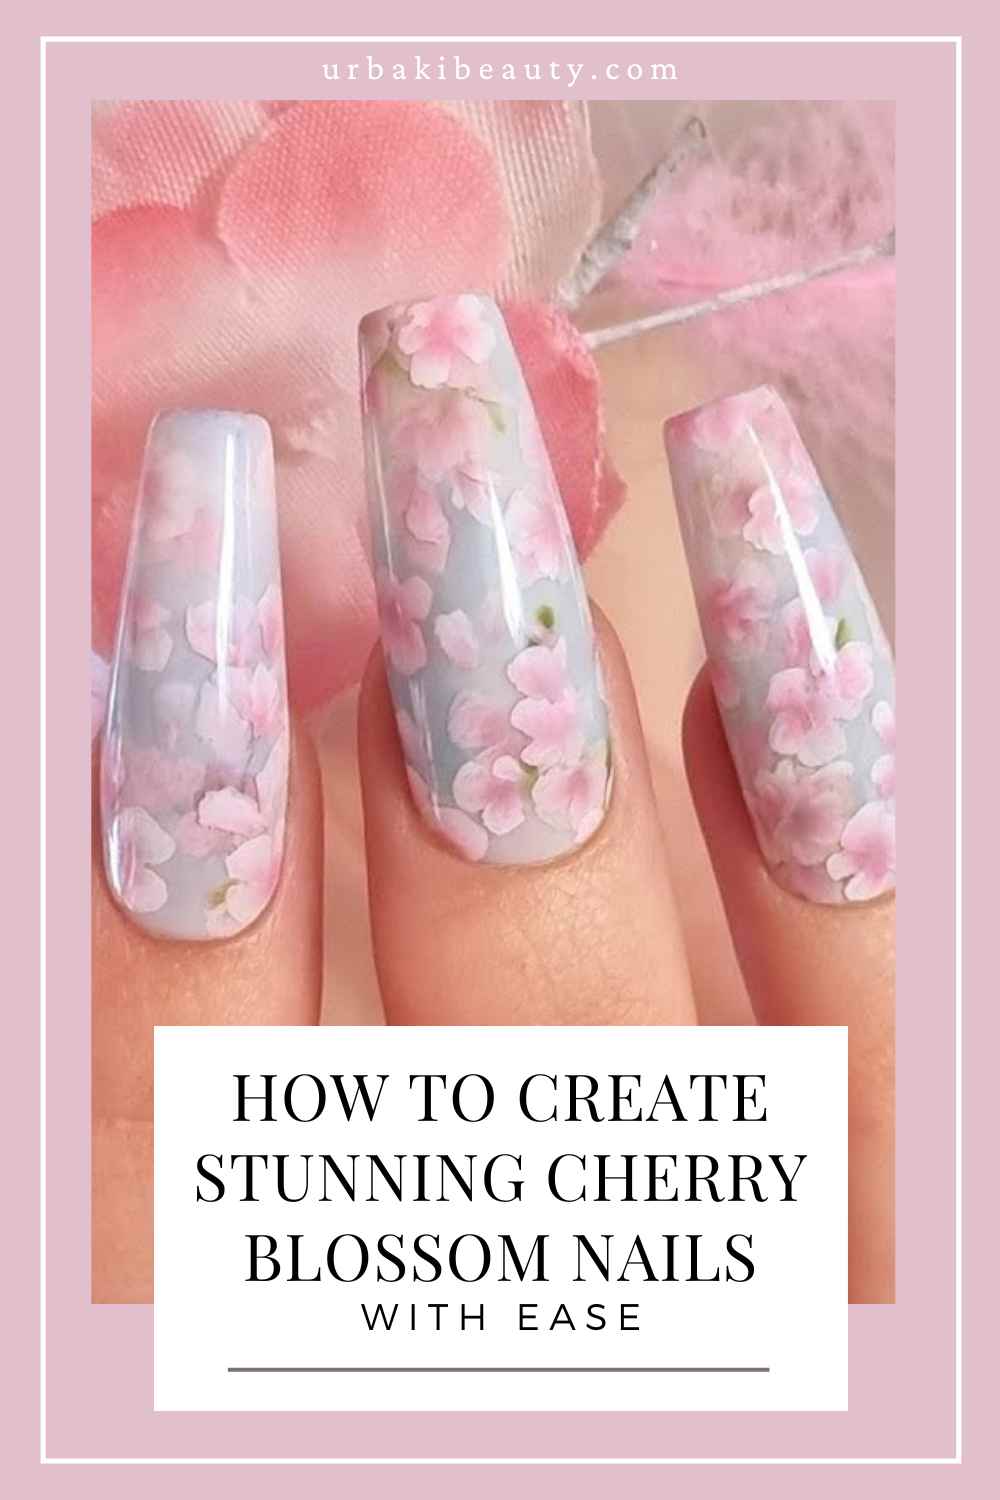
Did you find this post useful or inspiring? Save THIS PIN to your Beauty Board on Pinterest! 😊
You may also like