
How to Do a Professional Manicure at Home
29/06/2024
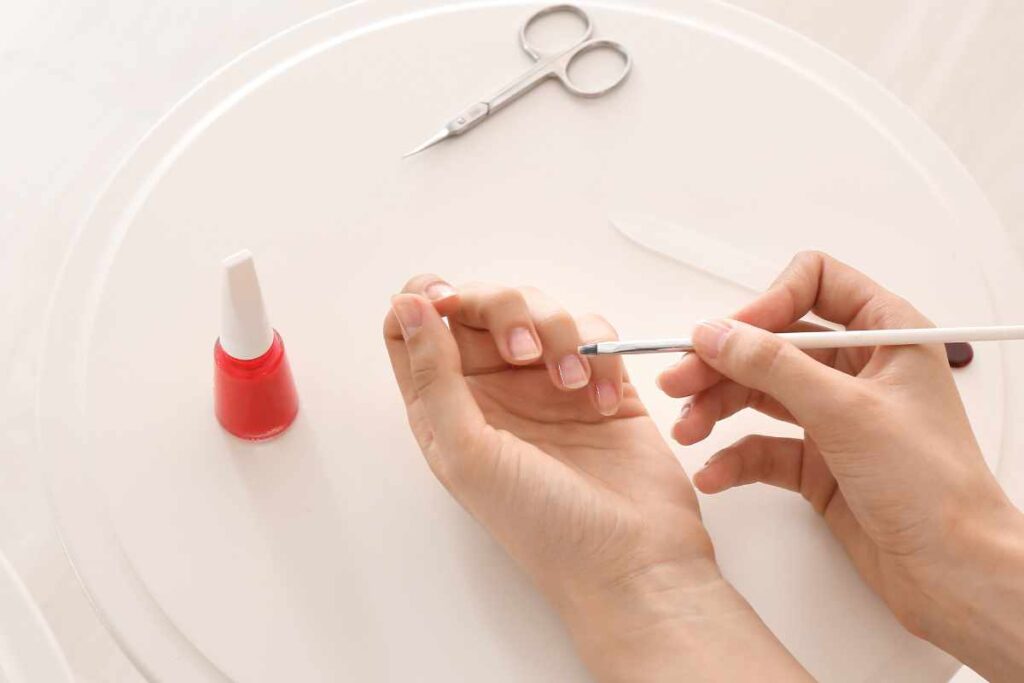
Getting a professional manicure can be a luxurious treat, but it’s also possible to achieve salon-quality results right at home. Doing our own manicure can be both fun and rewarding, especially when we have the right tools and follow the correct steps.
Here’s a comprehensive guide to a DIY manicure at home, complete with steps and tips to ensure we get the best results.
Gather Your Tools
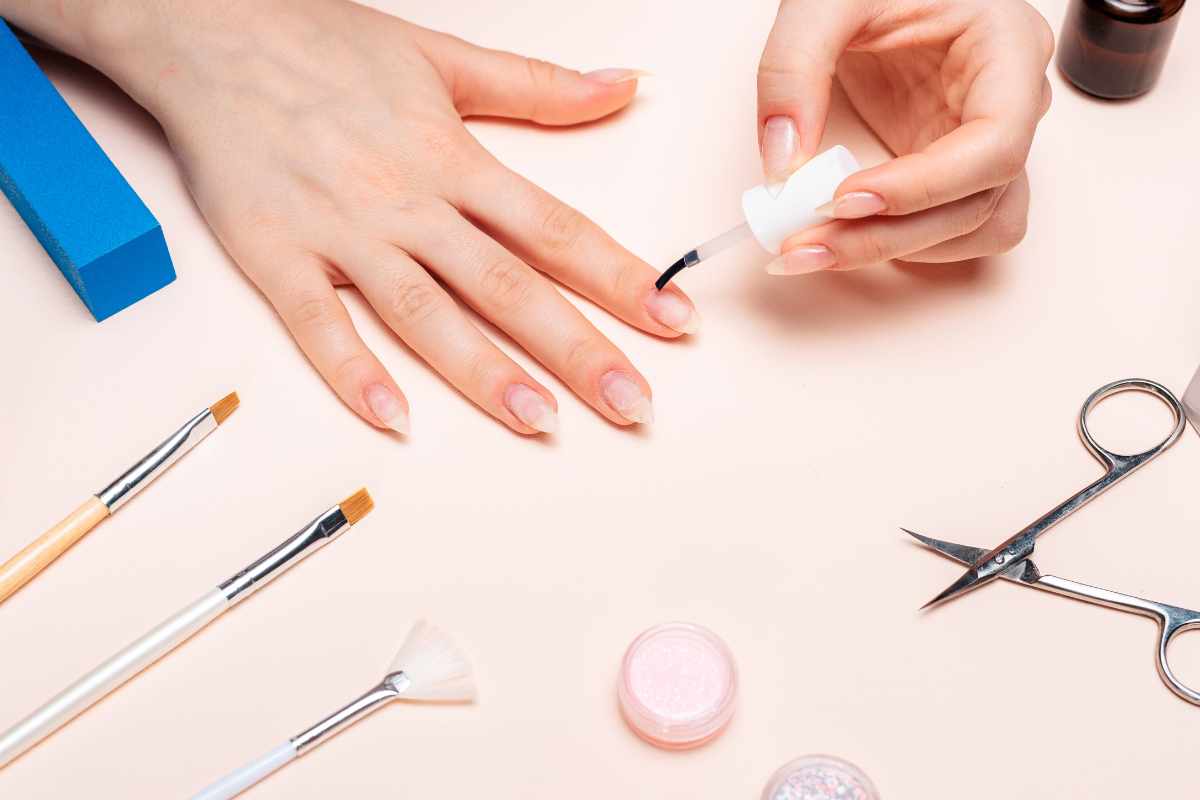
Before we begin, it’s essential to have all the necessary tools at hand. Here’s a list of items we’ll need for a manicure at home:
- Nail polish remover
- Cotton pads or balls
- Nail clippers
- Nail file and buffer
- Cuticle pusher and cuticle trimmer
- Bowl of warm water
- Hand scrub
- Hand cream or lotion
- Base coat
- Nail polish
- Top coat
Having everything ready before we start will make the process smoother and more enjoyable.
Prepare Your Nails
The first step in our DIY manicure at home is to remove any old nail polish. Using a gentle nail polish remover and cotton pads, wipe away all traces of previous polish. This ensures we start with a clean slate. Next, using nail clippers, trim our nails to the desired length.
Use a nail file to shape the edges. Whether we prefer square, round, or almond-shaped nails, it’s important to file in one direction to prevent splitting and weakening of the nails.
Fill a bowl with warm water and soak our nails for about 5-10 minutes. This softens the cuticles and makes them easier to push back and trim. Adding a few drops of gentle soap or a splash of lemon juice can help cleanse and brighten the nails.
After soaking, exfoliate our hands and nails with a hand scrub to remove dead skin cells. Rinse thoroughly and pat dry with a soft towel. Follow up with a nourishing hand cream or lotion to keep our skin hydrated and soft.
Shape and Buff Your Nails
Using a cuticle pusher, gently push back the cuticles. If necessary, use a cuticle trimmer to carefully remove any excess skin. It’s important to be gentle to avoid damaging the cuticle area, which can lead to infections.
Buffing our nails gives them a smooth surface, which helps the polish adhere better and last longer. Use a nail buffer to gently buff the surface of each nail, focusing on any ridges or uneven areas.
A good base coat is crucial for a long-lasting manicure. It helps the polish adhere better and protects the nails from staining. Apply a thin layer of base coat to each nail and let it dry completely before moving on to the next step.
Now comes the fun part—applying the nail polish! Start with a thin layer of polish, covering the entire nail surface. Let it dry for a few minutes before applying a second coat for a more opaque finish. Be sure to seal the edges of the nails to prevent chipping.

Finish and Maintain
A top coat adds a beautiful shine and helps protect our manicure from chipping and fading. Apply a thin layer of top coat over the nail polish, making sure to cover the edges of the nails. This will help prolong the life of our manicure.
Using a small brush or a cotton swab dipped in nail polish remover, carefully clean up any mistakes around the nail edges. This will give our manicure a professional and polished look.
It’s important to let our nails dry completely to avoid smudging. This can take anywhere from 15-30 minutes. To speed up the process, we can use a quick-dry spray or dip our nails in ice water for a few minutes.
Using high-quality nail polishes, base coats, and top coats can make a significant difference in the outcome of our manicure. Invest in good products that are less likely to chip and have a smoother finish.
Rushing through a manicure can lead to mistakes and a less polished look. Set aside enough time to enjoy the process and achieve the best results.
Keeping our nails and cuticles hydrated is essential for maintaining healthy nails. Apply cuticle oil regularly and use hand cream daily to keep our hands soft and nourished.
To make our DIY manicure at home last longer, wear gloves when doing household chores and avoid using our nails as tools. This will help prevent chips and breakages.
Don’t be afraid to get creative with our manicures. Try out different colors, nail art, and designs to keep things fun and exciting. There are plenty of tutorials and inspiration available online to help us create unique and beautiful looks.

Manicure at Home
With the right tools and a bit of practice, we can achieve a salon-quality manicure at home. Following these steps and tips will ensure our nails look beautiful and well-maintained.
Not only is a DIY manicure at home a cost-effective way to keep our nails in top shape, but it also offers a relaxing and enjoyable experience. So, let’s gather our supplies, put on some soothing music, and enjoy a little self-care with a perfect at-home manicure.
Did you find this post useful or inspiring? Save THIS PIN to your Beauty Board on Pinterest! 😊
You may also like