
Mosaic Nail Art with Gel Polish: Tips and Techniques for Stunning Manicure
21/05/2025 · Updated on: 15/05/2025

If you're looking to elevate your nail art skills, learning how to create mosaic nail art with gel polish is a fantastic choice.
This technique allows you to combine different colors, textures, and patterns to create truly eye-catching designs.
Whether you're a beginner or an experienced nail artist, this mosaic nail art tutorial by Dorota Palicka Nails is the perfect guide to help you master the technique.
In this article, we'll explore the key steps for achieving the perfect mosaic nail design and share valuable tips to help you perfect the craft.
Mosaic nail art can be customized to fit any occasion, from bold geometric designs to intricate and delicate patterns. Let's dive into these world and how you can create beautiful, salon-worthy looks at home.
What Is Mosaic Nail Art?
Mosaic nail art involves creating intricate patterns on your nails by applying pieces of gel polish in different shapes and colors, much like the pieces of a mosaic.
The beauty of this design lies in the ability to mix and match various shades and textures, allowing for endless creativity. With the right tools and techniques, you can transform your nails into a beautiful, artistic expression.
This design typically features clean lines, perfect for showcasing your nail art skills. It's ideal for those who enjoy experimenting with gel nail designs and want to try something new.
Gel polish is the perfect medium for this style because it offers vibrant color, smooth application, and long-lasting results. It's no wonder mosaic nails have gained popularity as a go-to nail art trend.

Why Choose Gel Polish for Mosaic Nail Art?
There are several reasons why gel polish is the best choice for creating mosaic nail art:
Durability: Gel polish is more durable than regular nail polish, providing a long-lasting finish that resists chipping.
Vibrant Color: Gel polish comes in a wide range of colors, ensuring that you can create stunning and vibrant mosaic patterns.
Smooth Finish: Gel polish offers a smooth, glossy finish that enhances the beauty of your nail art design.
Self-Leveling: Unlike regular polish, gel polish self-levels, making it easier to create a flawless design with sharp edges and clean lines.
By using gel polish, you can achieve a professional-level finish with less effort, making it the ideal medium for intricate designs like mosaic nails.
The Tools You Need for Mosaic Nail Art
Before diving into the mosaic nail art tutorial, make sure you have the right tools at your disposal. Here's a list of essential tools you'll need:
Gel Polish: Choose high-quality gel polishes in a variety of colors. You can pick a bold palette of contrasting shades for a more dramatic effect or soft pastels for a delicate look.
Nail Brush: A fine-tip nail art brush is essential for painting clean lines and intricate designs.
Base and Top Coat: These will help protect your design and ensure that your mosaic nails last longer.
Nail File and Buffer: Prepare your nails by filing and buffing the surface to ensure a smooth base for your gel polish.
Dotting Tools: These tools can help you create small, circular shapes that are often part of the mosaic pattern.
UV/LED Lamp: To cure your gel polish and set your design, you'll need a UV or LED lamp.
Step-by-Step Mosaic Nail Art Tutorial
In this mosaic nail art tutorial by Dorota Palicka Nails, you'll learn the step-by-step process of creating beautiful mosaic designs using gel polish.
Keep in mind that this tutorial is aimed at helping you master the technique, but it can be customized to suit your unique style.
Prepare Your Nails:
Start by cleaning your nails and removing any old polish. Then, gently file and buff your nails to create a smooth, even surface. Apply a base coat and cure it under the UV/LED lamp for a few seconds.Apply the First Layer of Gel Polish:
Choose a base color for your mosaic design and apply it to your nails. This will serve as the foundation for your mosaic art. Cure the gel polish under the lamp as per the instructions.Create the Mosaic Design:
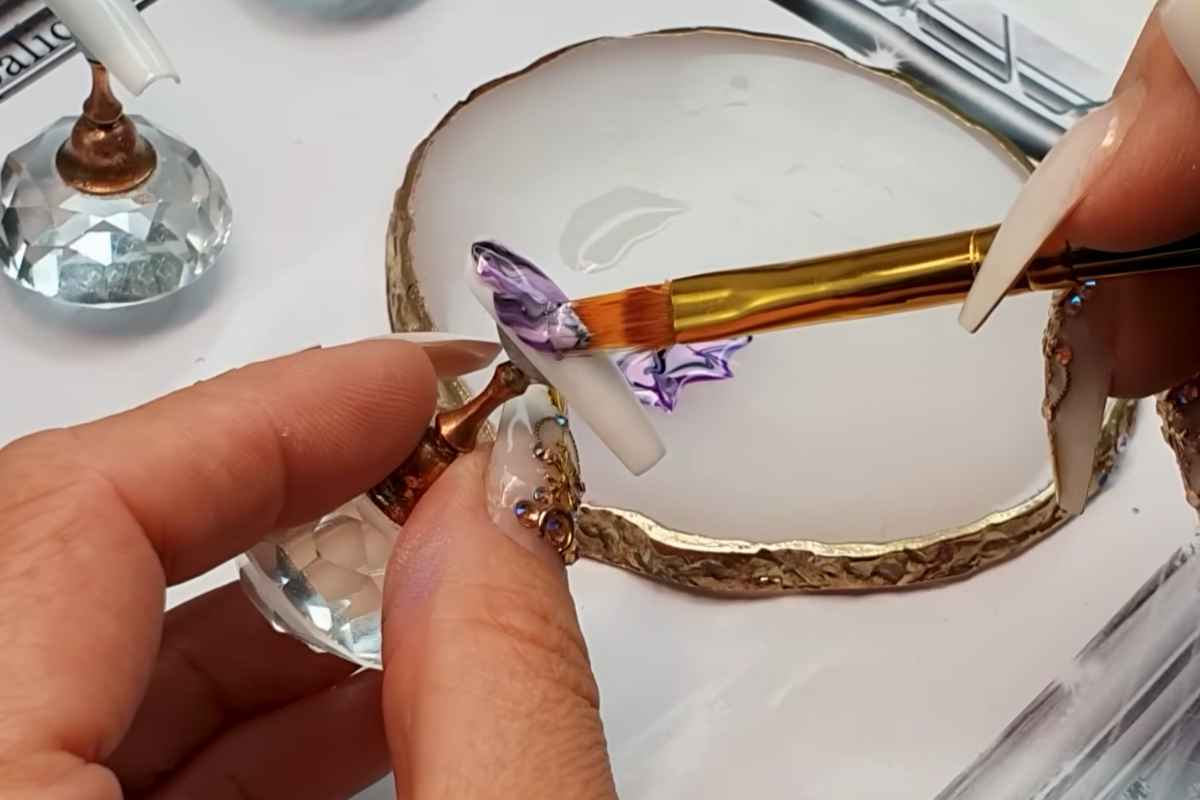
Using a fine-tipped nail art brush, apply different colors of gel polish in small sections to create the mosaic pattern. You can use square, triangle, or diamond shapes to form the design. Keep the lines clean and straight for a professional look. Use dotting tools for perfect circles within the pattern.Cure Between Layers:
After each section of the design is applied, cure it under the lamp. This ensures that the gel polish sets properly and prevents smudging. Repeat the process until you've achieved the desired look.Add Final Details:
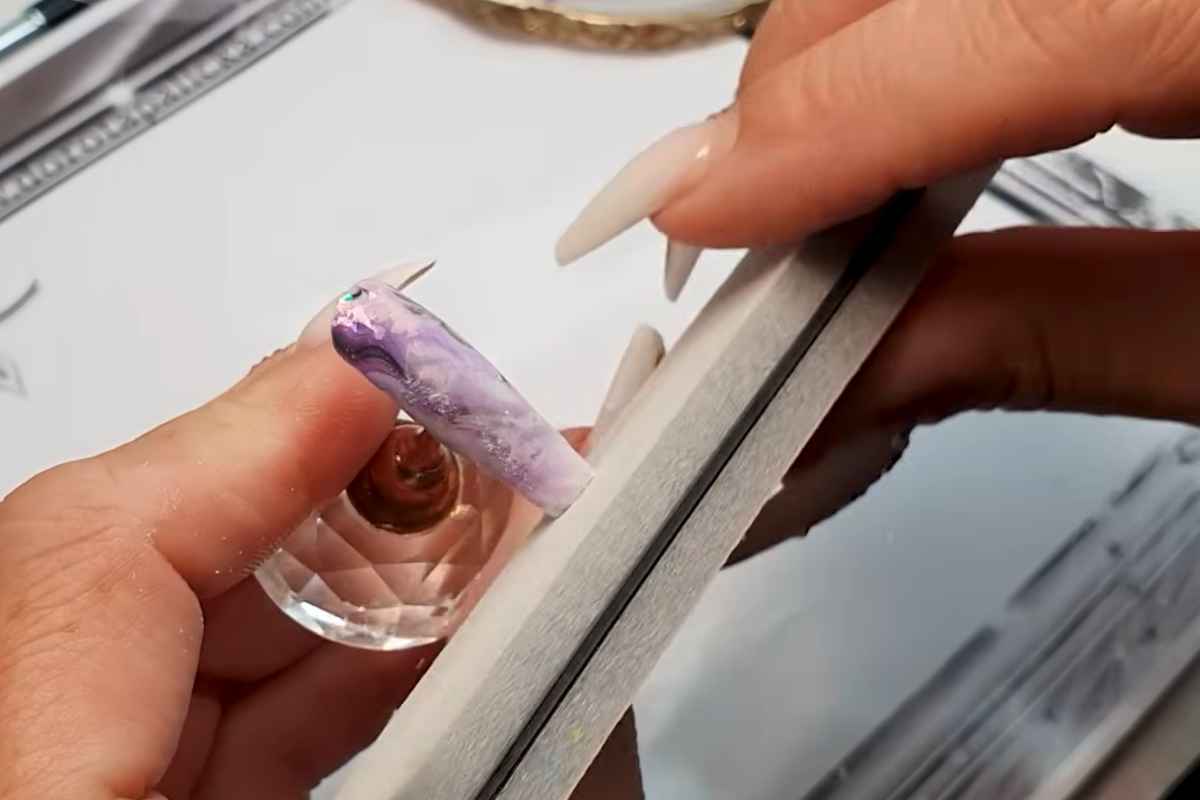
Once your mosaic nail art is complete, apply a top coat to seal in your design and give it a glossy finish. Cure the top coat under the lamp, and your nails are ready to shine!
Tips for Perfecting Your Mosaic Nail Art
Use Thin Layers: When applying gel polish, it's essential to use thin layers to avoid bulkiness and ensure a smooth finish.
Be Patient: Mosaic nail art requires precision and patience. Take your time when applying each layer, and let each section cure before moving on to the next.
Experiment with Shapes: The beauty of mosaic nails lies in the ability to mix and match shapes. Try using triangles, rectangles, and other geometric shapes to create a unique design.
Choose Complementary Colors: For a harmonious mosaic nail design, choose colors that complement each other. You can also create contrast by using bold, contrasting shades for a more dramatic effect.
Don't Forget the Cleanup: After completing the design, clean up any stray gel polish around the cuticles using a nail art brush dipped in nail polish remover.

Express Your Style with Your Nails
Mosaic nail art is a beautiful and creative way to express your style through your nails. With gel polish, you can achieve vibrant, long-lasting designs that stand out.
Whether you're a beginner or an experienced nail artist, the techniques shared in this mosaic nail art tutorial by Dorota Palicka Nails will help you create flawless designs every time.
By following the steps outlined above and practicing regularly, you'll be able to create stunning mosaic nails that are perfect for any occasion.
Remember, the key to success is taking your time, experimenting with different patterns, and most importantly, having fun while creating beautiful art on your nails.
So, grab your gel polishes, prepare your tools, and start mastering the art of mosaic nails today!
Enjoy The Video Tutorial

Source: Dorota Palicka Nails
Did you find this post useful or inspiring? Save THIS PIN to your Beauty Board on Pinterest! 😊

You may also like